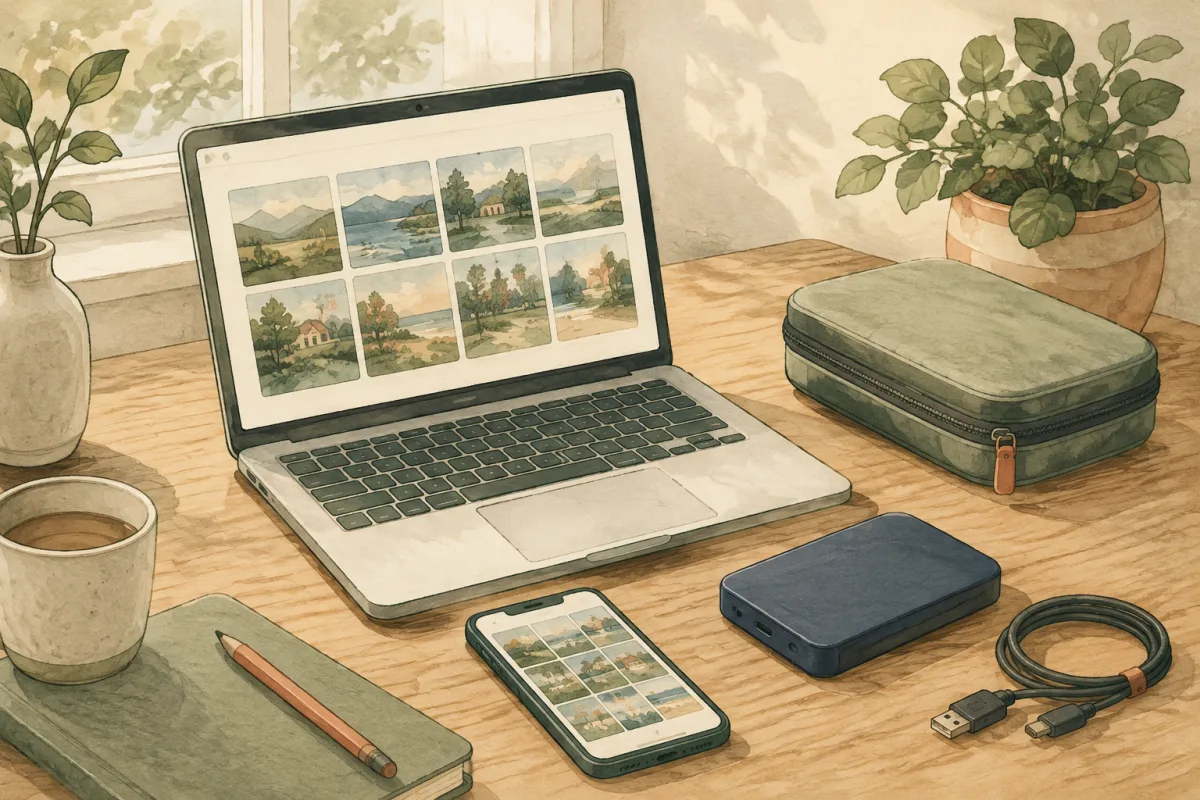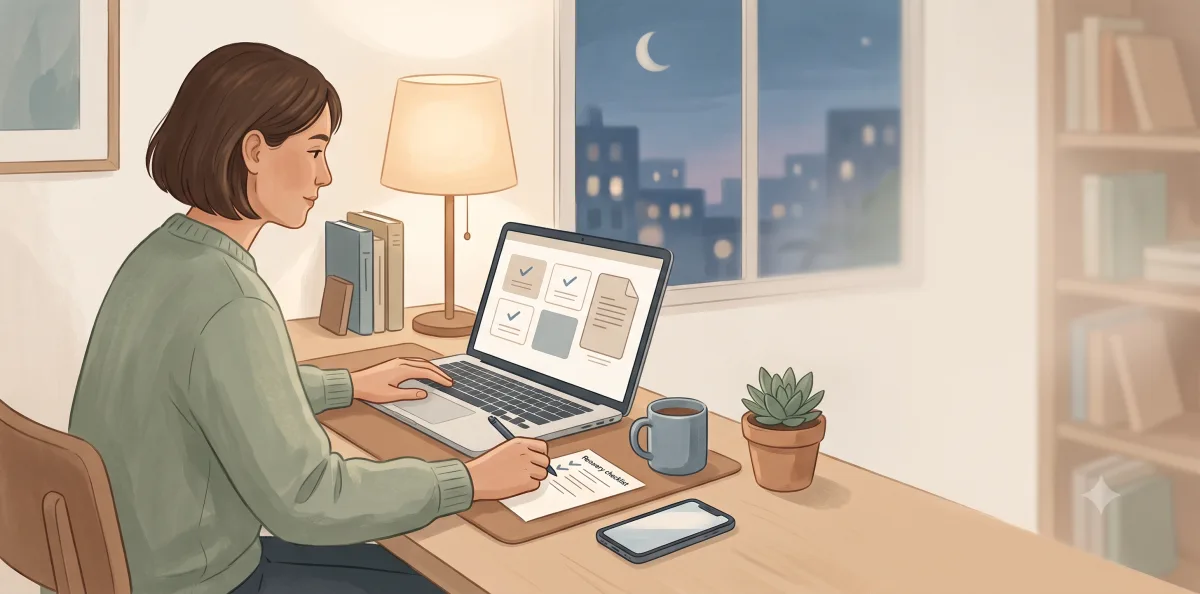
Start with a few important documents, save readable copies, and keep a protected backup separate from your everyday working folder. Then open a copy from that backup. A folder full of scans is useful only if you can find it, unlock it, and read it when you need it.
This guide is about a small household document set, not scanning every drawer. Keep paper originals; before relying on a scan for an official purpose, ask the receiving organization what it accepts.

1. Choose a small starter set
The US Consumer Financial Protection Bureau recommends organizing important records and contact information before a disaster, with copies stored separately. Its emergency-preparedness guidance is a useful starting point for choosing your own set.
Pick three to five documents you would struggle to replace or find quickly. For example:
- A current household insurance policy and the provider’s contact information
- A lease, property record, or other important housing document
- Identification or certificates you may need to refer to
- Essential care information or an emergency contact list
This is a suggested starter list, not a requirement to collect every family member’s records. Ask the owner before copying someone else’s documents. Keep work and school records under the relevant organization’s rules.
Do not mix passwords, sign-in codes, or encryption keys into the document folder. They need their own protected recovery arrangement.
2. Capture complete, readable files
If a provider already offers a downloadable PDF, save that file from its official website or app. For paper documents, use a scanner or a scanning feature you trust.
On an iPhone or iPad, Apple documents scanning through Files → More → Scan Documents, then choosing where to save. Notes also supports scanning. Follow Apple’s scanning instructions for your version and check the selected destination before saving sensitive pages.
On Android, the Google Drive app can scan documents into PDFs stored in Drive. This is a cloud destination, not an offline-only scan. Check the account and folder before using it for private records; see Google’s document-scanning guide.
Before continuing, open each saved file and check:
- Every page is present and in the right order, including relevant reverse sides.
- Small print is legible when enlarged.
- Edges, dates, and other details have not been cropped out.
- The saved file contains the document, not just a link to an app or website.
Use a harmless practice sheet while learning a new scanning workflow. Avoid uploading private records to an unfamiliar online converter just to combine pages.
3. Name files so you can find the current one
Choose a private working folder such as Household documents. Within it, use a few simple categories: Housing, Insurance, and Personal records. Keep especially private records separate from anything routinely shared.
Use a descriptive filename such as Home-insurance_2026-09.pdf. Do not put full identity numbers, passwords, or medical details in filenames. Add an issue date or year when it helps distinguish versions.
Keep a short inventory beside the files: document name, issue date, and whether you checked every page. For the starter set, “five expected files, five checked files” is easier to verify than a vague note saying “documents backed up.”
4. Protect a separate backup destination
The Australian Cyber Security Centre recommends protecting backups, keeping a copy offsite, disconnecting removable backup media when not in use, and regularly checking restoration. Its backup guide also discusses encryption and multi-factor authentication for cloud access.
For this starter set, choose one destination you can manage:
- An encrypted removable drive: keep it physically secure and disconnect it after use. Confirm how you will unlock it on the device you expect to use for recovery.
- A protected cloud backup: check its account access, recovery history, and sharing settings. Use a unique password and two-step verification. Consider whether you could reach it after losing your main phone or account.
These protect against different failures. A drive beside your laptop can disappear in the same incident. A cloud copy still depends on account access. Review the sync-versus-backup guide if you are unsure whether changes or deletions would affect both copies.
See Apple’s Disk Utility warning. If the encryption setup is unfamiliar, pause the transfer of sensitive documents and get help configuring the destination with non-sensitive test files first.
Keep the unlock password or recovery key in a secure place independent of the backup it opens. Do not assume the computer’s sign-in password also protects a removable drive.
5. Copy, then test without deleting originals
The following is our suggested small-set check, not a claim that we tested your device or backup service:
- Copy the starter set into a dated backup folder. Copy rather than move; leave the working files and paper originals intact.
- Wait for completion. Check for failed uploads or skipped files. Compare the backup with your inventory.
- Reopen the destination. For a drive, safely eject and reconnect it. For a service, retrieve the files through its backup or download controls while keeping a working account session open.
- Open a recovery copy. Use a new private test folder if a restore is needed. Do not overwrite the working documents. For this small set, inspect every file and page.
- Record what worked. Note the backup date, location, files checked, and any missing pages. Do not record the unlock password in this note.
If you expect a local copy to work without internet access, test that with the non-sensitive practice file first. A successful sample does not prove that an entire untested archive is complete.
6. Plan household access and the next update
Decide who should be able to recover which documents. A trusted adult may need instructions for finding the backup without needing routine access to every private record. Where sharing is appropriate, use named access rather than a public link or a shared personal password. The family account-sharing guide helps separate ownership from access.
Choose an update trigger: a renewed policy, a move, a replacement document, or a change of backup account. Add a review date to your household routine. Keep clearly dated versions until you have checked the replacement; this guide does not set legal document-retention periods.
Your stopping-point checklist
- I chose a small set of documents I am entitled to copy.
- I checked that the files are readable and complete.
- A protected backup exists separately from the working folder.
- I know how to reach and unlock it without relying only on my everyday phone.
- I opened the backed-up files without deleting or replacing originals.
- I recorded who maintains the set and when to review it.
That is enough for a useful first session. Add more records gradually, or work on family photo backups next.